
Vadastra
E-learning Glass
Glass
Glass 2014
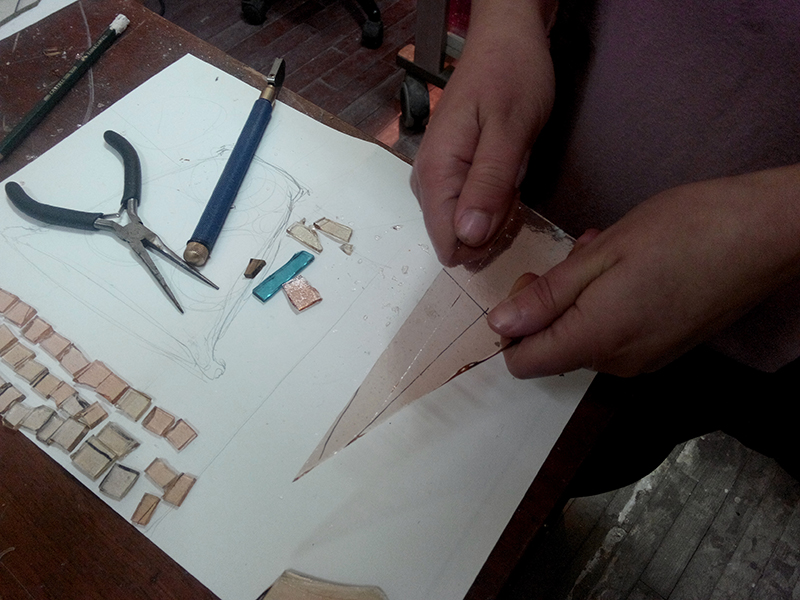
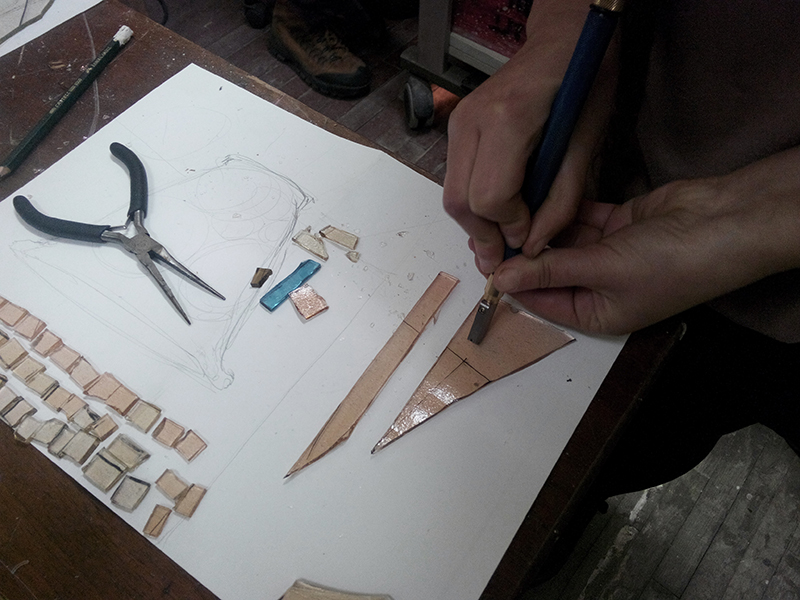
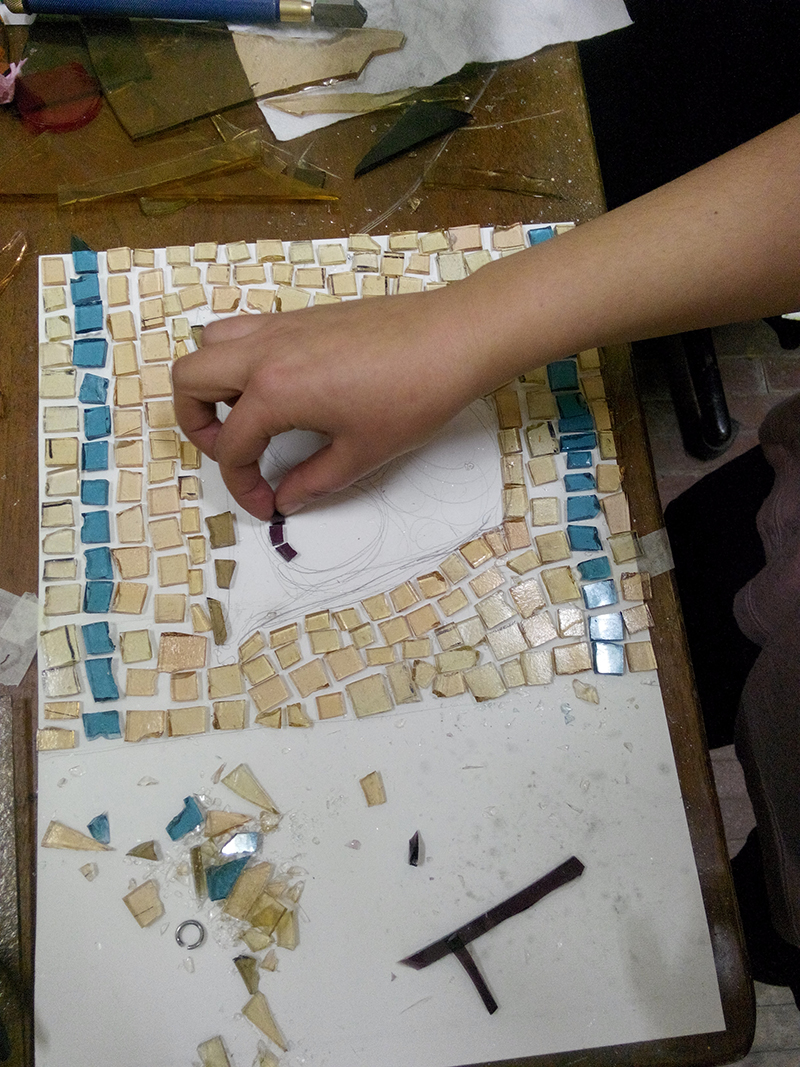
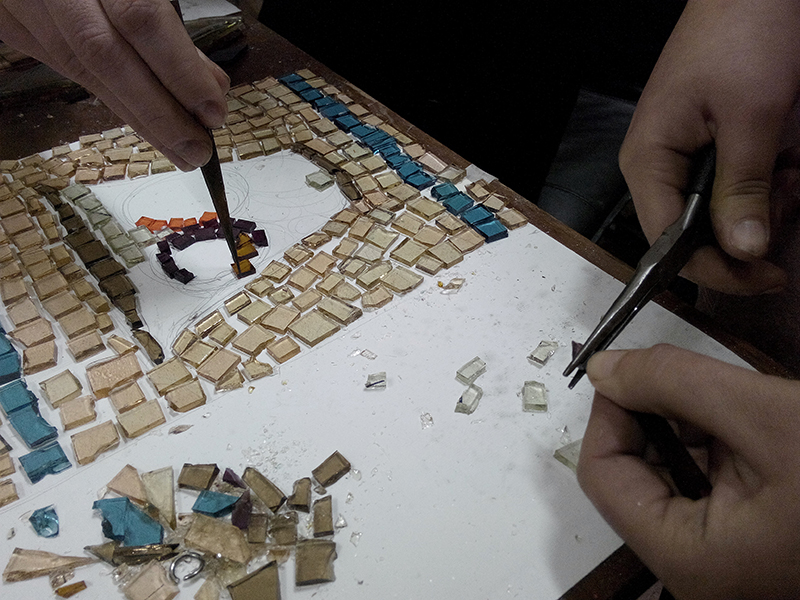
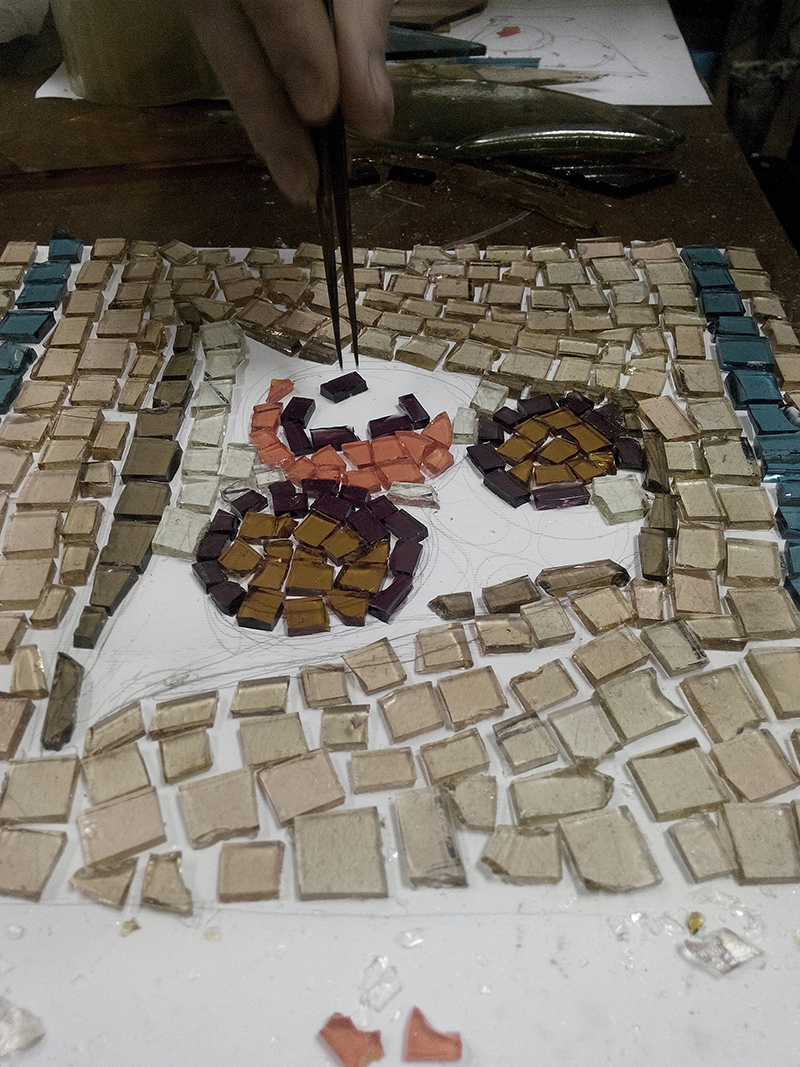
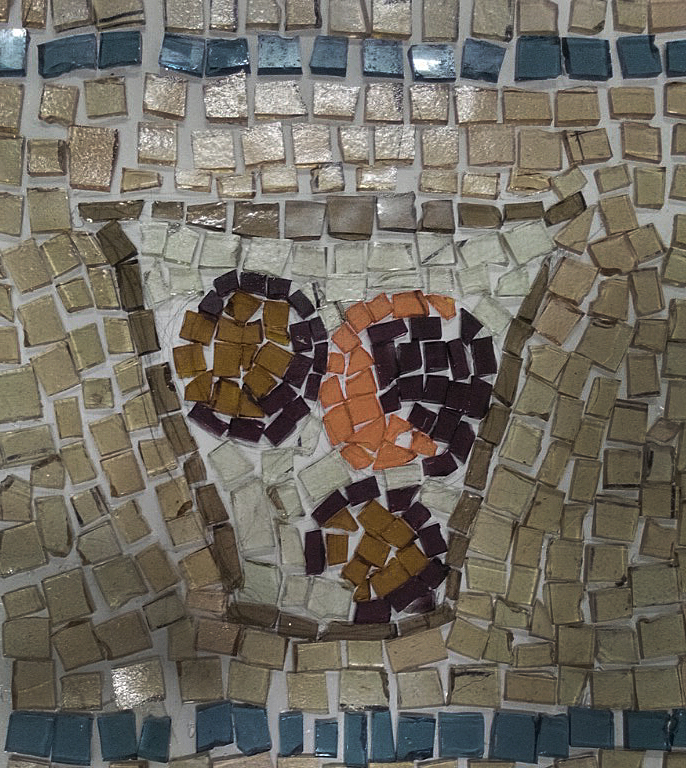
Creating a Roman mosaic from recycled materials. Ioana Stelea and Dan Popovici.
Roman glass engraving process
The techniques of engraving glass were borrowed from the earlier art of gem engraving. The tools used by the ancient gem-engravers were mainly of three different sorts, namely the drill, the wheel and the diamond-point.
Author John Boardman describes the gem-engraving techniques, as follows:
The main drills for gem engraving were moved by a bow; the bow string was tuned around a vertical rod; its upper end pivots in a socked kept down by one hand of the worker, while the other hand operates the bow.
Another type of drill, used for precious gems, was the file, or Lima.
As such, Pliny described an engraving set with diamond splinters and other fragments.
For hard stones, some other mechanical aids were necessary. Laurentius Natter describes such a system. A horizontal lathe, operated by a foot treadle was supporting metal drills with variously shaped tips, such as wheels of various size and thickness. This system was used also for glass
Boardman describes further this process of engraving with this system. The cutting agent was diamond dust emery mixed with olive oil, or sometimes water. The piece to be engraved was held against the tip of the drill. The characteristics of the cut, such as shape and depth, depended on the drill tip as well as the angle at which it touched the tip. The depression thus made was deeper at the middle, and taper as it reached the surface of the stone or glass.
The Roman period had seen the flourishing of the art of glass. The process of engraving was the final part of manufacturing the glass object. As mentioned, the Roman engravers used to decorate glass vessels using instruments with stone or metal wheels. The main two types of glass engraving were cameo and intaglio.
The Glass engraver gestures
The way a Roman glass engraver worked can be described starting with the instruments and ending with his movements.
Instruments used in glass engraving
First of all, the engraver has to prepare the instruments for his or her work: metal wells with various heads (rivet head, V-shape or round heads), a hard stone for sharpening, emery/carborundum powder, a recipient with water or olive oil for mixing powder as well as the glass piece to be engraved.
The process of glass engraving
As described, the metal wheels are fixed in a lathe which spins powered by a foot treadle. The mix of oil or water with emery or carborundum is the abrasive agent carving in the glass.
For an intaglio portrait, the engraver chooses different head wheels for various stages. For the main volumes as the hair, face, neck, the engraver would choose a large surface wheel. For the details, the roundhead wheel and the V-shaped wheels (in order to draw lines) would be used.
The glass object is held in both hands. Their movement is made according to the stage and part of the portrait the engraver is working at. For instance, circular movements for large shapes, up, down, left and right for lines, as well as small and precise movements for face details.
The more the glass surface is caved in, the stronger the perception of the volume.
Observation of the engraved glass piece
After finishing the piece, the engraver washes with clear water the abrasive mix off the glass; then, he observes the volumes, details and overall composition, deciding if the work needs more intervention or if it is considered finished.
Downloads:
http://timemaps.net/timemap/videos/glass_engraving.mp4
http://timemaps.net/timemap/videos/glass_engraving.webm
http://timemaps.net/timemap/videos/glass_engraving.ogv
The recreation of the Roman technique of glassblowing
About the invention of glass, Pliny says in his ”Naturalis Historia”:
”They started to melt together all kinds of shiny stones, getting that stream of translucent liquid that they had never known before, a result of talent reproducing nature using craftiness.”
There the terms art, nature, talent, craftiness,… are related in such a way that, like in a mathematical formula, they express the core of the style of ancient Rome.
In the 1st Century B.C, when glassblowing was discovered, the art of glassmaking was already two millennia in age. As a novel glass forming technique created in the middle of the last century BC, glassblowing exploited a working property of glass which was previously unknown to the glassworkers: inflation. Inflation refers to the expansion of a molten blob of glass by introducing a small amount of air to it. During blowing, thinner layers of glass cool faster than thicker ones and become more viscous than the thicker layers. This allows production of blown glass with uniform thickness, instead of facilitating blow-through of the thinned layers.
The blowpipe was invented probably along the eastern Mediterranean coast. This invention made glass production easier, faster, and cheaper. As a result, glass became available to the common people for the first time. The long thin metal tube used in the glass blowing process has changed very little since then.
In the last century BC, the ancient Romans then began blowing glass inside moulds, greatly increasing the variety of shapes possible for hollow glass items.
The increased productivity of the novel techniques also modified the specifics of the glass art. As before mold-blowing all artefacts were unique, the new technology lead to a mass-production artistic industry, due to the special mobility of glass-makers throughout the Roman Empire.
Through this experiment made in the glass-making workshop of the National University of Arts Bucharest, we recreated the stages of producing a Roman rectangular jug, a common shape in the 2nd Century AD, where free-blowing and mould-blowing are intertwined:
|
|
|
|
|
|
|
|
|
|
|
|
|
|
|
|
|
|
Downloads:
http://timemaps.net/timemap/videos/roman_glass_blowing.mp4
http://timemaps.net/timemap/videos/roman_glass_blowing.webm
http://timemaps.net/timemap/videos/roman_glass_blowing.ogv
